Ingredients
Equipment
Method
- In a medium bowl, whisk together the buttermilk and hot sauce. Season the chicken strips lightly with salt and pepper, then submerge them in the buttermilk mixture. Cover and refrigerate for at least 30 minutes, or up to 4 hours. This step tenderizes the chicken and infuses flavor.
- While the chicken marinates, prepare your dredging stations. In a shallow dish, combine the flour, garlic powder, paprika, onion powder, salt, pepper, and baking powder. Whisk thoroughly. In a second dish, beat the egg. Place the panko breadcrumbs in a third dish. This 'assembly line' setup is key for efficiency.
- Remove chicken from the buttermilk, letting excess drip off. Dredge each strip first in the seasoned flour, shaking off excess. Then dip into the beaten egg, letting excess drip off. Finally, press firmly into the panko crumbs, ensuring an even, generous coating. Place on a wire rack or parchment-lined baking sheet. Let rest for 10 minutes—this helps the coating adhere.
- In a large, heavy-bottomed skillet (cast iron is ideal), heat about 1/2 inch of oil over medium-high heat to 350°F (175°C). Use a thermometer for accuracy. Carefully add chicken strips in a single layer, not crowding the pan. Fry for 3-4 minutes per side until deeply golden brown and the internal temperature reaches 165°F (74°C).
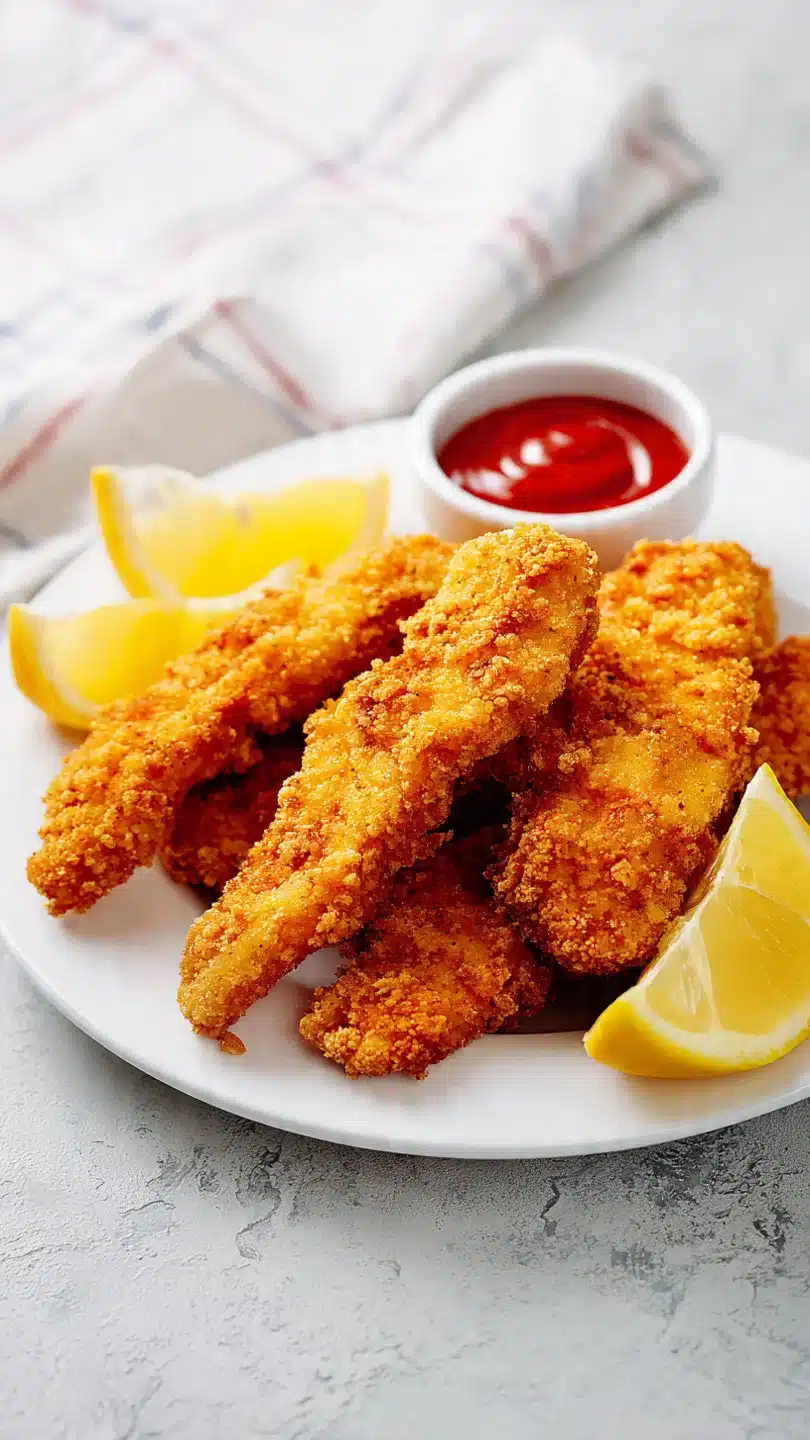
- Transfer cooked strips to a clean wire rack set over a baking sheet—never paper towels, as they trap steam and make the coating soggy. Sprinkle lightly with a pinch of flaky salt while hot. Let rest for 5 minutes before serving with your favorite dipping sauces.
Notes
Chef's Tips:
• For the crispiest results, let the coated strips rest for 10 minutes before frying. This allows the coating to hydrate and adhere.
• Avoid overcrowding the pan. Frying in batches maintains oil temperature for even cooking and browning.
• Serve immediately for peak crispiness, but they reheat surprisingly well in an air fryer or oven.
Food Safety:
• Always use a meat thermometer to ensure chicken reaches a safe internal temperature of 165°F (74°C).
• Do not leave raw chicken at room temperature for more than 2 hours.