Ingredients
Equipment
Method
- Preheat your oven to 425°F (220°C). Place a wire rack on top of a large, rimmed baking sheet. This setup is non-negotiable for airflow and crispiness. Lightly spray the rack with cooking spray. Pat the chicken tenderloins completely dry with paper towels, then season both sides lightly with salt and pepper. This initial seasoning makes a big difference in flavor penetration.
- In a shallow bowl or pie plate, whisk together the flour, ½ teaspoon of the kosher salt, and ¼ teaspoon of the black pepper. In a second shallow bowl, whisk the eggs and milk until completely smooth. In a third bowl, combine the panko, Parmesan cheese, garlic powder, paprika, onion powder, oregano, the remaining ¼ teaspoon salt, ¼ teaspoon pepper, and cayenne (if using). Mix thoroughly with a fork to break up any Parmesan clumps.
- Working with one piece of chicken at a time, dredge it thoroughly in the flour mixture, shaking off any excess. Next, dip it into the egg wash, letting the excess drip back into the bowl. Finally, press it firmly into the panko-Parmesan mixture, coating all sides. Use your dry hand to sprinkle and pat more coating on top to ensure a thick, even layer. Place the coated tender on the prepared wire rack. Repeat with all pieces, ensuring they are not touching on the rack.
- Using a pastry brush or a spoon, carefully drizzle or brush a small amount of the neutral oil over the top of each breaded tender. You don't need to soak them; a light, even coating is enough to promote browning and crispiness. This is the professional trick that mimics frying. Place the baking sheet in the preheated oven on the middle rack.
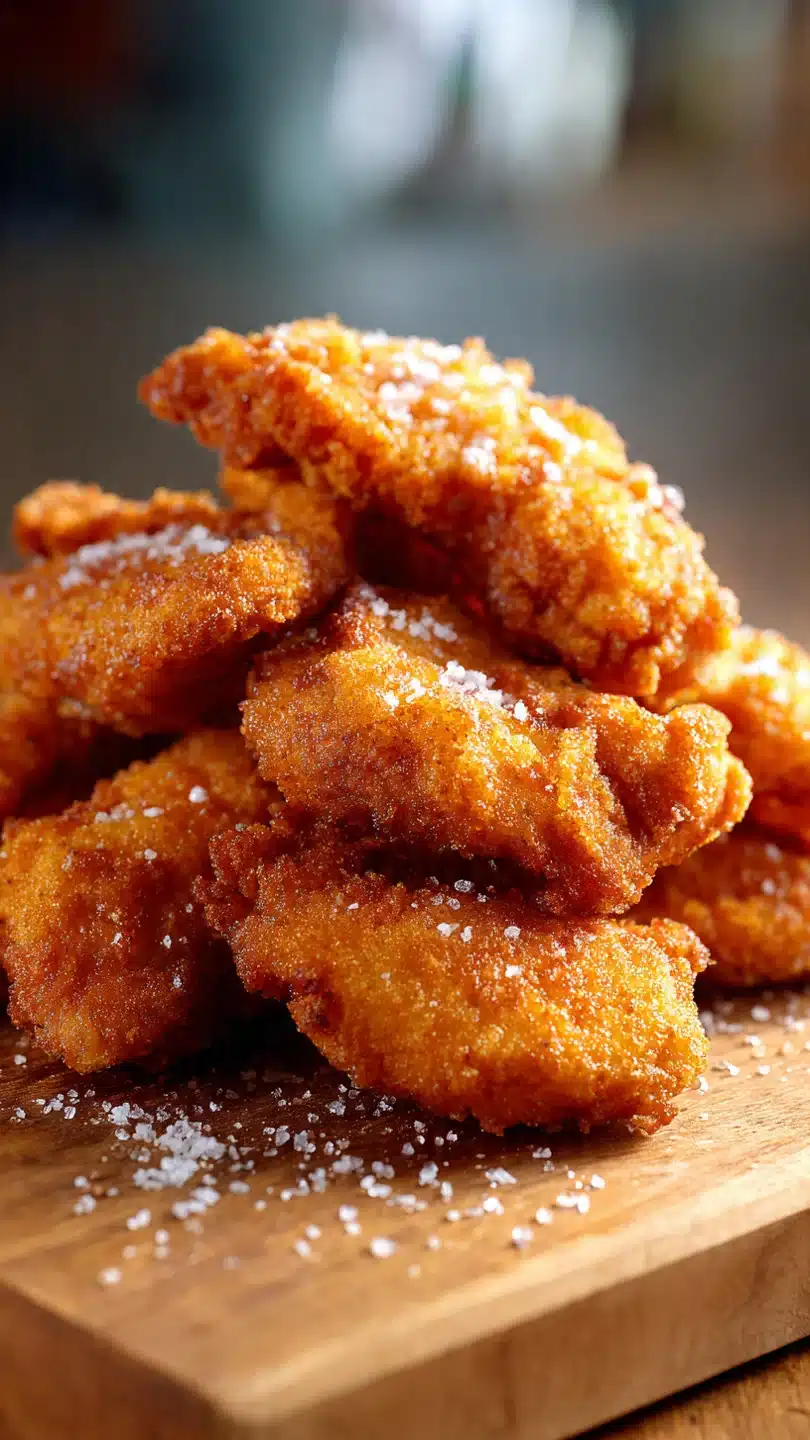
- Bake for 14-18 minutes, or until the coating is a deep, golden brown and the internal temperature of the chicken reaches 165°F (74°C) when checked with an instant-read thermometer. Do not flip them during baking. The wire rack allows hot air to circulate for even cooking. Let the tenders rest on the rack for 5 minutes before serving—this lets the crust set and the juices redistribute.
Notes
Chef's Tips:
• For the crispiest results, don't crowd the tenders on the baking rack. Use two sheets if necessary.
• The most common mistake is skipping the step of patting the chicken dry, which leads to a soggy coating.
• Serve immediately with honey mustard, barbecue sauce, or ranch dressing for dipping.
Food Safety:
• Always use a meat thermometer to ensure chicken reaches a safe internal temperature of 165°F (74°C).
• Do not leave raw chicken or used breading stations at room temperature for more than 2 hours.