

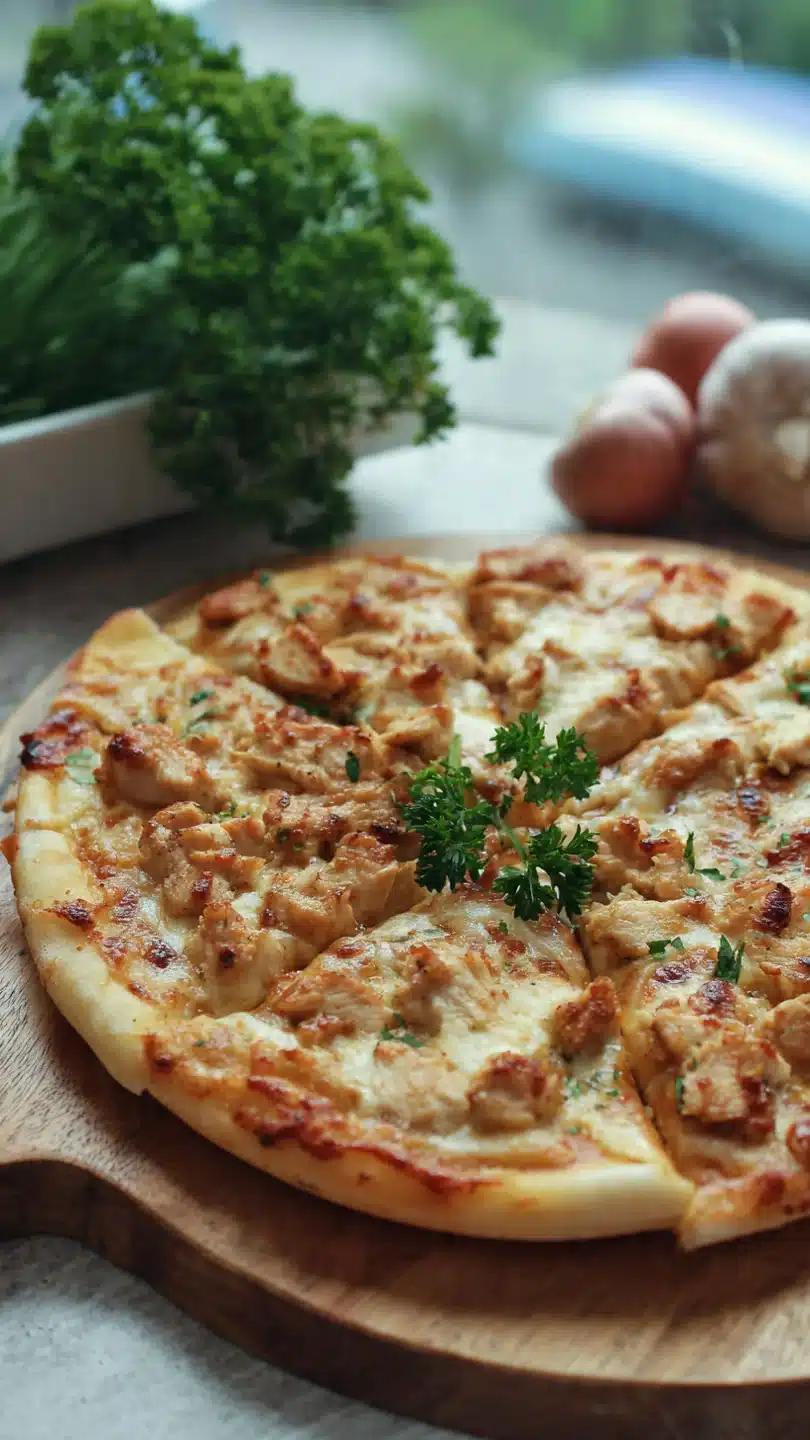
chicken pizza
There’s something universally satisfying about a great pizza. The combination of a crisp, chewy crust, savory sauce, and melty cheese is hard to beat. But when you add tender, seasoned chicken into the mix, you elevate it from a simple snack to a hearty, protein-packed meal that everyone at the table will love.
As a chef, I appreciate the beautiful simplicity of pizza, and as a home cook, I value how quickly it comes together. This recipe is my tested, foolproof method for creating a fantastic chicken pizza at home, using smart techniques to ensure a perfect result every single time. You’ll get a restaurant-quality pie with minimal fuss, maximum flavor, and the pride of having made it yourself.
- Weeknight Winner: From fridge to table in about 35 minutes, this recipe is faster than delivery and far more rewarding.
- Endlessly Customizable: Use this method as a blueprint. Swap the sauce, change the cheese, or add your favorite veggies to make it your own.
- Perfect Texture: The technique of brushing the dough with oil and baking it hot delivers a crust that’s crispy on the bottom and pleasantly chewy inside.
- Family-Friendly: It’s a guaranteed crowd-pleaser. Let everyone choose their own topping section for a fun, interactive dinner.
- Great for Leftovers: That leftover roast chicken or store-bought rotisserie chicken finds its perfect purpose here, reducing food waste.
- Impressive Results: Despite being easy, the final product looks and tastes like it came from a professional pizzeria.
Ingredients You’ll Need
Let’s gather our ingredients—this is where the magic starts. Using quality components makes a noticeable difference, but this recipe is also wonderfully forgiving. The beauty of this chicken pizza lies in its adaptability.
For the base, you’ll need pizza dough. I often use a high-quality store-bought dough to save time; just let it come to room temperature for easy stretching. For the protein, cooked chicken breast is key. A store-bought rotisserie chicken is a fantastic shortcut here—just shred or dice the meat.
For the sauce, a simple marinara or pizza sauce works perfectly. I recommend one without too many added herbs so you can control the seasoning.
The cheese blend is crucial: low-moisture, part-skim mozzarella melts beautifully without releasing too much oil, and freshly grated parmesan adds a salty, nutty depth. For seasoning, dried oregano and garlic powder are my go-tos—they distribute evenly and toast slightly in the oven, releasing incredible aroma. A drizzle of olive oil brushed on the dough before saucing is my pro secret for a non-soggy crust.
Finally, for color and crunch, consider red onion and bell pepper. They add freshness and balance the richness.

Note: You’ll find the complete list of ingredients, along with their exact measurements, in the printable recipe card at the bottom of this post.
Kitchen Equipment Needed
You don’t need specialized gear to make great pizza at home. A large baking sheet (turned upside down to mimic a pizza peel) or a pizza stone will be your cooking surface. Parchment paper is non-negotiable for me—it makes transferring the topped pizza into the hot oven foolproof.
A pastry brush for applying the olive oil, a cutting board, and a sharp pizza cutter or large chef’s knife are the only other essentials. If you have a rolling pin, you can use it, but I encourage you to try stretching the dough by hand for a better, more irregular crust texture.
How to Make Chicken Pizza Recipe
Step 1: Prep and Shape the Dough
Start by getting your oven screaming hot—475°F (245°C). If using a pizza stone, place it in the cold oven so it heats up fully. On a lightly floured surface, take your room-temperature dough and begin to shape it.
Use your fingertips to press from the center outwards, creating a slightly thicker rim for the crust. Avoid using a rolling pin if you can; it compresses the dough and can make the crust dense. Believe me, a hand-stretched crust has a much better, airier texture.
Aim for a rough 12-inch circle—perfection is overrated here.
Step 2: Build the Flavor Foundation
Transfer your shaped dough onto a sheet of parchment paper. Now, take your pastry brush and lightly coat the entire surface, right to the edges, with olive oil. This simple step is a game-changer—it creates a protective layer between the dough and the wet sauce, preventing a soggy middle.
Next, spoon your marinara sauce onto the center and spread it out evenly, leaving that prized 1/2-inch border bare. This is where your crust will puff up beautifully.
Step 3: Layer Toppings Strategically
Sprinkle about three-quarters of your mozzarella cheese directly over the sauce. This initial cheese layer acts like glue, helping to anchor your other toppings so they don’t slide off. Now, evenly distribute your cooked chicken and any vegetables like red onion or bell pepper.
Top everything with the remaining mozzarella and all of the grated parmesan. Finally, dust the entire pizza with the dried oregano and garlic powder. Tip from me: adding dried herbs on top allows them to toast slightly in the oven, intensifying their flavor.
Step 4: Bake to Golden Perfection
This is where the magic happens. Carefully slide the pizza, still on its parchment paper, onto your preheated pizza stone or inverted baking sheet in the oven. The high heat will immediately start working on the crust.
Bake for 12 to 15 minutes. You’ll know it’s done when the crust is puffed and a deep golden brown, and the cheese is molten with those perfect little browned spots. Don’t be tempted to open the oven door too early; you need that consistent, intense heat.
Step 5: Rest, Slice, and Serve
Once out of the oven, transfer the pizza to a cutting board. This is important: let it rest for 3 to 5 minutes. This brief pause allows the molten cheese to set just enough so that when you cut it, you get clean slices instead of a cheesy landslide.
Use a pizza cutter or a large knife to slice it into wedges. Step back and admire your creation before diving in—the contrast of the crisp crust, savory chicken, and gooey cheese is everything a homemade pizza should be.
- Dough Temperature is Key: Cold dough will fight you and snap back. Always let your dough sit at room temperature, covered, for at least 30-60 minutes before shaping. It will be much more cooperative.
- The Pre-Bake Secret: For an even crispier crust, you can bake the naked, oil-brushed dough on the parchment for 3-4 minutes before adding toppings. This sets the structure and prevents sogginess from juicy toppings.
- Cheese Matters: Pre-shredded cheese contains anti-caking agents like cellulose, which can inhibit melting. For the smoothest, stretchiest melt, buy a block of low-moisture mozzarella and shred it yourself just before using.
- Don’t Overload: It’s tempting to pile on the toppings, but less is more for a home oven. Too much weight will steam the crust and prevent it from crisping properly. Stick to a moderate, even layer.
- Check the Bottom: The top of the pizza can look done while the bottom is still pale. Use a spatula to lift a corner and check for a nicely browned, firm crust before pulling it from the oven.
Recipe Variations
- BBQ Chicken Pizza: Swap the marinara for your favorite barbecue sauce. Use a mix of mozzarella and smoked gouda cheese, and top with diced red onion and fresh cilantro after baking.
- Buffalo Chicken Pizza: Toss the cooked chicken in buffalo sauce before adding it to the pizza. Use a blue cheese or ranch dressing as the base sauce, and top with mozzarella and crumbled blue cheese.
- Pesto & Spinach Chicken Pizza: Spread a layer of basil pesto instead of marinara. Top with chicken, mozzarella, and handfuls of fresh baby spinach. The spinach will wilt perfectly in the oven.
- White Chicken Pizza: Skip the tomato sauce. Brush the dough with garlic-infused olive oil, then top with ricotta cheese dollops, chicken, mozzarella, and sautéed mushrooms.
- Greek-Style Chicken Pizza: Use a garlic-herb olive oil base. Top with chicken, crumbled feta cheese, kalamata olives, red onion, and spinach. Finish with a sprinkle of dried oregano.
- Gluten-Free Option: Use your favorite store-bought gluten-free pizza dough. Be gentle when shaping, as it can be more fragile. You may need a slightly longer bake time.
- Cauliflower Crust: For a lower-carb version, use a pre-made cauliflower crust. Pre-bake it according to package directions before adding your chicken and cheese toppings to ensure it gets crisp.
What to Serve With This Recipe
This chicken pizza is a complete meal on its own, but it pairs wonderfully with a simple, bright side salad. A classic Caesar salad or a mix of arugula with a lemon vinaigrette cuts through the richness of the cheese beautifully. For a heartier spread, especially if serving guests, consider starting with garlic knots or bruschetta. Beverage-wise, a cold, crisp lager or pilsner is a classic pairing. For a non-alcoholic option, sparkling water with lemon or a chilled Italian soda works wonderfully.
This pizza is perfect for casual Friday nights, game day gatherings, or a fun, hands-on family dinner where everyone can customize their own section.
Storage & Make-Ahead Instructions
- Refrigerator Storage: Cool leftover pizza completely, then store slices in an airtight container in the refrigerator for up to 3-4 days.
- Freezer Instructions: For longer storage, freeze individual slices on a parchment-lined baking sheet until solid, then transfer to a freezer bag. They’ll keep for up to 2 months. Reheat directly from frozen.
- Best Reheating Method: To restore crispness, reheat in a preheated 375°F (190°C) oven or toaster oven for 8-10 minutes, or until hot and the cheese is bubbly again. Avoid the microwave, as it will make the crust soggy.
- Make-Ahead Strategy: You can prep components ahead of time. Cook and shred the chicken, shred the cheese, and slice vegetables 1-2 days in advance. Store them separately in the fridge. Assemble and bake the pizza just before serving for the best texture.
Frequently Asked Questions
Q: Can I use raw chicken on the pizza?
A: I do not recommend it. Raw chicken won’t cook through in the short baking time without overcooking the rest of the pizza. Always use pre-cooked chicken for safety and the best texture.
Q: My dough keeps shrinking back when I try to stretch it. What am I doing wrong?
A: This usually means the gluten in the dough is too tight. The dough is likely too cold or needs to rest. Cover it and let it sit at room temperature for another 15-20 minutes, then try again.
Handle it gently.
Q: Can I make this without a pizza stone?
A: Absolutely! Preheat a large, heavy baking sheet (turned upside down) in the oven instead. It won’t retain heat as well as a stone, but it will still give you a much crisper bottom than baking on a cold sheet.
Q: Why is my pizza crust soggy in the middle?
A: The most common culprits are too much sauce, wet toppings (like fresh tomatoes), or not enough preheat time for your baking surface. Ensure your oven and stone/sheet are fully preheated, and go light on wet ingredients.
Q: Can I prepare the pizza ahead and bake it later?
A: You can assemble the pizza on the parchment paper and refrigerate it for up to 1 hour before baking. Any longer and the dough may start to get soggy. For longer prep, freeze the unbaked pizza solid, then wrap it well; bake from frozen, adding 5-7 extra minutes.
Q: What’s the best way to reheat leftover pizza?
A: For a crisp crust, use a skillet! Heat a non-stick skillet over medium-low heat, add the pizza slice, cover with a lid, and heat for 3-4 minutes until the bottom is crisp and the cheese is melted. The oven or toaster oven also works well.
Q: Can I use a different type of cheese?
A: Yes, but for the best melt and stretch, mozzarella should be your base. You can mix in provolone, fontina, asiago, or even a little cheddar for flavor. Avoid using only hard, dry cheeses like parmesan as they won’t melt well on their own.
Final Thoughts
Mastering a great homemade chicken pizza is one of those kitchen skills that pays off endlessly. It’s quicker than waiting for delivery, it allows you to control exactly what goes into your food, and the satisfaction of pulling that golden, cheesy masterpiece from your own oven is unbeatable. This recipe is built on professional techniques—like oiling the dough and baking hot—that guarantee success, but it’s simple enough for any home cook.
I encourage you to use this as your foundational template. Try the variations, play with your favorite toppings, and make it your own. Once you see how easy and delicious it is, you might just find yourself making pizza night a weekly tradition.
I’d love to hear how your pizza turns out! Share your creations online and tag me, and don’t forget to rate the recipe below. Happy cooking
Ultimate Homemade Chicken Pizza
Ingredients
Equipment
Method
- Preheat your oven to 475°F (245°C). If you have a pizza stone, place it in the oven now to heat up. On a lightly floured surface, gently stretch and shape the room-temperature dough into a 12-inch circle. Don’t roll it with a pin—use your hands to press from the center outward to preserve those precious air bubbles for a better crust.
- Transfer the shaped dough to a piece of parchment paper. This makes handling so much easier. Brush the entire surface lightly with olive oil, all the way to the edges. This creates a barrier that helps prevent a soggy crust. Now, spread the marinara sauce evenly over the dough, leaving about a 1/2-inch border for the crust.
- Sprinkle about 1 1/2 cups of the mozzarella cheese over the sauce. Then, evenly distribute the cooked chicken, red onion, and bell pepper (if using). Top with the remaining mozzarella and all of the grated parmesan. Finally, sprinkle the dried oregano and garlic powder evenly over the top.
- Carefully slide the pizza (on the parchment paper) onto your preheated pizza stone or a large, inverted baking sheet in the oven. Bake for 12-15 minutes. You’re looking for the crust to be puffed and deeply golden, and the cheese to be bubbly with some browned spots. Trust me, that high heat is key for a crisp bottom.
- Remove the pizza from the oven and let it rest on a cutting board for 3-5 minutes. This allows the cheese to set slightly so it doesn’t all slide off when you cut it. Slice into wedges, serve immediately, and enjoy the perfect combination of crispy, chewy, cheesy, and savory flavors.


