

Chicken quesadillas
There’s something universally satisfying about cutting into a perfectly cooked chicken quesadilla. That audible crunch of the toasted tortilla gives way to a steamy, cheesy, flavor-packed interior. It’s the ultimate quick-fix dinner that feels like a treat, a reliable solution for busy weeknights, game day, or even a casual lunch.
After years in professional kitchens, I’ve refined this recipe to be foolproof, focusing on techniques that guarantee maximum crispiness and flavor in every bite. Let’s make the best, most reliable chicken quesadillas you’ve ever had at home.
This recipe is designed for success, flavor, and flexibility. Here’s what makes it stand out:
- Guaranteed Crispiness: The method of buttering the tortilla directly, not just the pan, creates an unbeatable, golden-brown, crunchy exterior that holds up to the filling.
- Big Flavor, Fast: A simple, balanced blend of pantry spices transforms basic chicken and peppers into a deeply savory filling in minutes.
- Endlessly Customizable: This is a fantastic blueprint. Once you master the technique, you can swap in endless combinations of proteins, veggies, and cheeses.
- Family-Friendly Winner: It’s cheesy, it’s handheld, and it’s delicious. This is a meal that appeals to both kids and adults, making dinner decisions easy.
- 30-Minute Meal: From fridge to table in about 25 minutes, this recipe is a practical solution for those nights when you need something great, fast.
Ingredients You’ll Need
- Let’s gather our ingredients—this is where simple pantry staples come together to create something truly special. The quality of your tortillas and cheese makes a noticeable difference here. For tortillas, I recommend looking for the larger “burrito-size” flour tortillas; they’re more pliable and sturdy for folding. For cheese, pre-shredded bags are convenient, but shredding a block of Monterey Jack or a sharp cheddar yourself will give you a much better melt without the anti-caking agents. If you have a rotisserie chicken, you can shred about 2 cups to skip the cooking step—just toss it with the spices and warm it with the veggies.

Note: You’ll find the complete list of ingredients, along with their exact measurements, in the printable recipe card at the bottom of this post.
Kitchen Equipment Needed
You don’t need any special equipment. A large skillet (10-12 inches) or a flat griddle is essential for getting that even, golden cook. A thin, flexible spatula is your best friend for flipping without breaking the tortilla.
You’ll also need a sharp knife for prepping and a couple of mixing bowls. If you have a pastry brush, it’s handy for applying the softened butter, but your fingers work just fine.
How to Make Chicken Quesadillas Recipe
Step 1: Season and Sear the Chicken
Start by giving your chicken pieces a good coat in the oil and spice blend. The key here is to get your skillet nice and hot before adding the chicken. You want to hear a definite sizzle.
Let the chicken cook undisturbed for the first few minutes—this creates a flavorful sear and prevents the pieces from steaming. Believe me, that little bit of browning adds a ton of depth to the final filling. Cook until no pink remains, then transfer it to a bowl.
Step 2: Soften the Vegetables
In that same flavorful skillet, you’ll cook your peppers and onions. There’s no need to wash it; those browned bits from the chicken will season the veggies. Cook them over medium heat until they’re soft and have taken on a little color at the edges.
You’re not looking for them to be completely caramelized, just tender and sweet. Once done, mix them right in with the chicken.
Step 3: Build the Quesadilla Foundation
Now for the assembly. Lay your tortillas flat and sprinkle cheese on only one half. This cheese layer acts as a glue, melting to seal the filling in place.
Top with the chicken and veggie mixture, then finish with another generous layer of cheese. The double cheese layer is my pro tip—it ensures every bite is perfectly gooey. Fold the empty tortilla half over to create a neat half-moon.
Step 4: Achieve Golden-Brown Perfection
This is the most important step for texture. Wipe your skillet clean and return it to medium heat. Butter one side of your assembled quesadilla and place it butter-side down in the pan.
Now, butter the top side. Cook for 2-3 minutes until the bottom is a deep, appetizing golden brown. Trust me, the direct butter application is the game-changer.
Carefully flip with your spatula and cook the other side until equally crisp and the cheese is fully melted.
Step 5: Rest, Slice, and Serve Immediately
The temptation to cut and eat right away is strong, but patience pays off. Let the quesadilla rest on a cutting board for just a minute or two. This allows the molten cheese to set slightly, so when you cut it into triangles, the filling stays neatly inside.
Use a sharp knife or pizza cutter for clean slices. Serve them right away while the tortilla is at its crispiest and the cheese is gloriously stretchy.
A few insights from my kitchen to yours can elevate your quesadilla game from good to exceptional.
- Control Your Heat: Medium heat is crucial. Too high, and the tortilla will burn before the cheese melts and the filling heats through. Too low, and the tortilla will be pale and soggy.
- The Filling Ratio: It’s tempting to overstuff, but restraint is key. A thin, even layer of filling ensures easy flipping and prevents breakage. The tortilla should close without much pressure.
- Cheese Choice Matters: For the best melt and flavor, use a combination of a good melting cheese like Monterey Jack or Oaxaca and a sharper cheese like cheddar for punch. Always grate it yourself if you have time.
- The Resting Minute: Don’t skip letting the quesadilla rest for 60 seconds after cooking. This allows the cheese to cool just enough to become tacky, acting as a glue to hold everything together when sliced.
Recipe Variations
- The beauty of a quesadilla is its adaptability. Here are some of my favorite tested variations.
- BBQ Chicken: Swap the taco seasoning for 1/3 cup of your favorite BBQ sauce mixed with the cooked chicken and use a colby jack cheese blend. Add some thinly sliced red onion inside.
- Buffalo Chicken: Toss the cooked chicken in 1/4 cup of Buffalo sauce. Use a blue cheese crumble along with the Monterey Jack, and serve with a side of ranch dressing for dipping.
- Vegetarian Power: Omit the chicken. Use a mix of black beans, corn, sautéed mushrooms, and spinach. A pepper jack cheese adds a nice kick.
- Breakfast Quesadilla: Fill with scrambled eggs, cooked breakfast sausage or bacon, and cheddar cheese. Perfect for brunch or dinner!
- Greek-Inspired: Use shredded rotisserie chicken tossed with a little lemon juice and oregano. Fill with spinach, kalamata olives, and crumbled feta cheese.
- Gluten-Free/Dairy-Free: Use your favorite gluten-free tortillas and a high-quality dairy-free cheese shred. Ensure your seasonings are certified gluten-free.
What to Serve With This Recipe
Quesadillas are a complete meal in your hand, but the right sides turn it into a feast. For a classic pairing, you can’t go wrong with fresh tomato salsa, cool sour cream, and creamy guacamole. A simple shredded lettuce salad with a lime vinaigrette cuts through the richness beautifully.
If you’re feeling ambitious, Mexican rice and black beans make it a hearty dinner. For drinks, a cold Mexican lager, a limeade, or even a fruity agua fresca are perfect complements.
Storage & Make-Ahead Instructions
- Quesadillas are truly best eaten immediately, but you can prepare components ahead of time.
- Make-Ahead Filling: The chicken and vegetable mixture can be cooked, cooled, and stored in an airtight container in the refrigerator for up to 3 days. Reheat gently before assembling.
- Storing Leftovers: Allow cooked quesadillas to cool completely, then store in an airtight container in the fridge for up to 2 days.
- Reheating: To recrisp, reheat in a dry skillet over medium-low heat for 2-3 minutes per side. The microwave will make them soggy.
- Freezing: Assemble uncooked quesadillas (without butter), place on a parchment-lined baking sheet to freeze solid, then transfer to a freezer bag. Cook from frozen, adding a minute or two to the cooking time. Butter them just before they go in the pan.
Frequently Asked Questions
Q: Can I use corn tortillas instead of flour?
A: You can, but they are more fragile. Use two corn tortillas per quesadilla (like a sandwich), and warm them slightly first to prevent cracking. The cooking time will be slightly shorter.
Q: My cheese keeps spilling out when I flip. What am I doing wrong?
A: This usually means too much filling or not enough “glue” cheese. Ensure you have a layer of cheese directly on the tortilla under the main filling, and don’t overstuff. Also, make sure your spatula is getting fully under the quesadilla when you flip.
Q: How do I keep the first quesadillas warm while I cook the rest?
A: Place them on a wire rack set over a baking sheet in a 200°F (95°C) oven. The rack prevents steam from making the bottom soggy.
Q: Can I bake these instead of pan-frying?
A: Yes, for a lighter version. Place assembled quesadillas on a baking sheet, brush with butter or oil, and bake at 425°F (220°C) for 10-12 minutes, flipping halfway, until golden and crisp.
Q: What’s the best cheese blend for the ultimate melt?
A: A 50/50 blend of Monterey Jack (for its superb melt) and a medium cheddar (for flavor) is my gold standard. Oaxaca cheese is also a fantastic authentic choice.
Q: My tortilla is burning before the cheese melts.
A: Your heat is too high. Reduce to a solid medium. The cooking process should take about 5-6 minutes total for the cheese to fully melt and the tortilla to brown perfectly.
Q: Can I make these vegetarian?
A: Absolutely! Sautéed mushrooms, bell peppers, onions, black beans, and corn make a fantastic filling. Just season them well with the same spices.
Final Thoughts
Mastering the perfect chicken quesadilla is about understanding a few simple principles: a hot pan, a restrained hand with the filling, and the magic of butter directly on the tortilla. This recipe is a testament to how a handful of ordinary ingredients, treated with a bit of care, can create an extraordinary meal that everyone will love. It’s reliable, fast, and endlessly enjoyable.
I hope this becomes a regular in your dinner rotation, and I’d love to hear how it turns out for you. Share your creations online and tag me—seeing your kitchen successes is my favorite part of this job. Now, go enjoy that first, perfectly crispy, cheesy bite
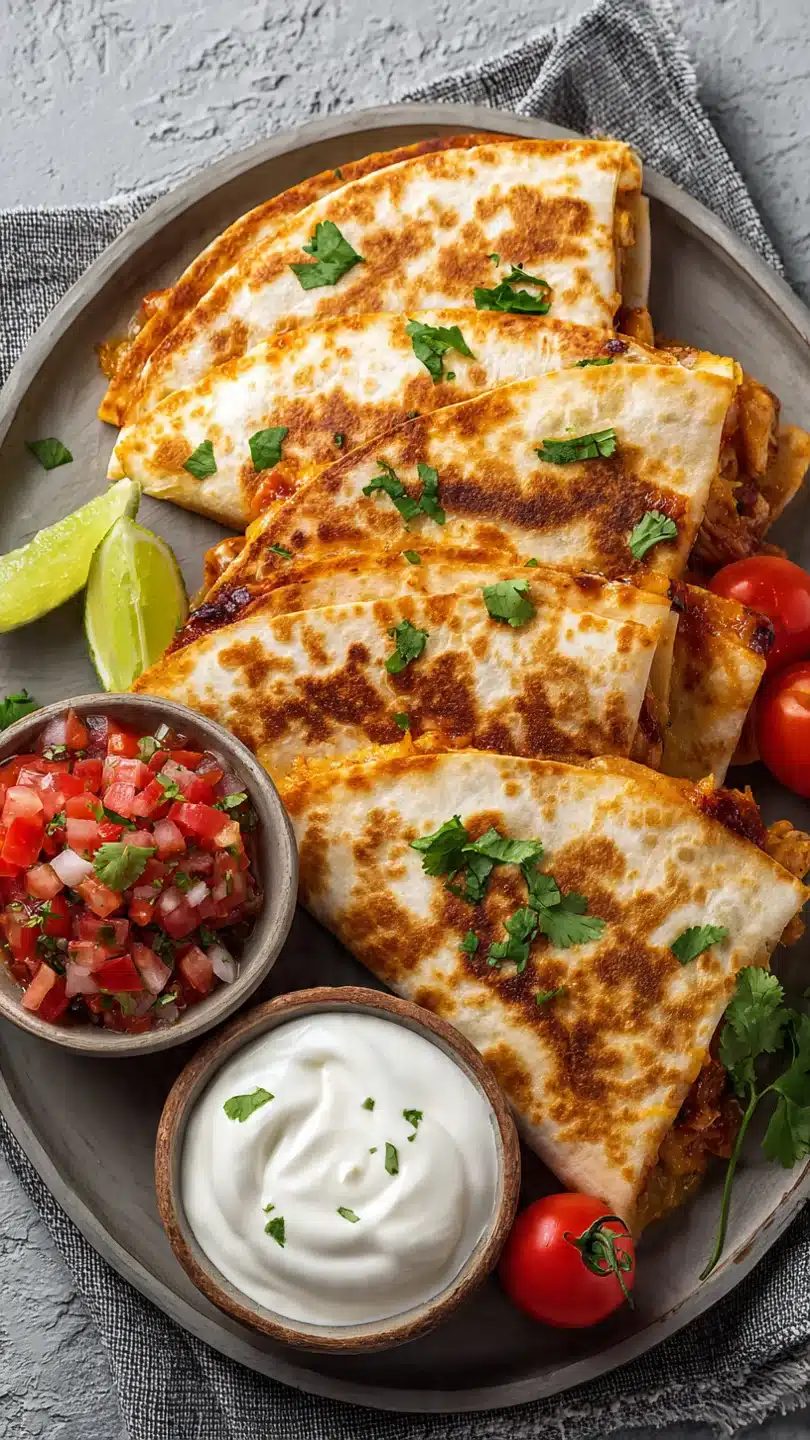
Perfect Chicken Quesadillas
Ingredients
Equipment
Method
- Season and cook the chicken. In a medium bowl, toss the chicken pieces with 1/2 tablespoon of oil, chili powder, cumin, garlic powder, onion powder, salt, and pepper. Heat a large skillet or griddle over medium-high heat. Add the chicken in a single layer and cook without moving for 4-5 minutes to get a good sear, then stir and cook for another 3-4 minutes until cooked through. Transfer to a clean bowl.
- Sauté the vegetables. In the same skillet, add the remaining 1/2 tablespoon of oil. Add the sliced bell pepper and onion. Cook, stirring occasionally, for 5-6 minutes until they are softened and have a bit of color. Tip from me: A little char on the veggies adds fantastic flavor. Combine the cooked vegetables with the chicken in the bowl.
- Assemble the quesadillas. Lay out four tortillas on your work surface. Divide half of the shredded cheese evenly among them, sprinkling it over one half of each tortilla. Top the cheese with the chicken and vegetable mixture, then cover with the remaining cheese. Fold the empty half of the tortilla over the filling, creating a half-moon shape.
- Cook to golden perfection. Wipe out your skillet and return it to medium heat. Lightly butter one side of each assembled quesadilla. Place one quesadilla, buttered-side down, in the skillet. Butter the top side. Cook for 2-3 minutes until the bottom is deeply golden brown and crispy. Trust me, the butter is the secret to that perfect, restaurant-style crunch. Carefully flip and cook the other side for another 2-3 minutes. Repeat with remaining quesadillas.
- Rest, slice, and serve. Transfer each cooked quesadilla to a cutting board and let it rest for 1-2 minutes. This allows the cheese to set slightly so it doesn’t all ooze out when you cut it. Use a sharp knife or pizza cutter to slice each into 3 triangles. Serve immediately with your favorite sides like salsa, cool sour cream, and creamy guacamole.


