

Chicken taquitos
There’s something deeply satisfying about that first bite into a perfectly crispy taquito. The audible crunch gives way to a steaming, flavorful filling that’s both comforting and exciting. In my professional kitchen days, we’d fry them to order, but at home, I’ve perfected a baked version that delivers all the crunch without the mess of a deep fryer.
This recipe is my weeknight hero—it transforms simple ingredients into a meal that feels like a celebration, with a fraction of the effort. You’ll get golden, shatteringly crisp exteriors wrapped around a juicy, well-seasoned chicken and cheese filling that’s guaranteed to have everyone asking for seconds.
- Restaurant-Quality at Home: Achieves a deep golden, crispy shell through a specific baking technique, rivaling any fried version.
- Big Flavor, Fast: The chicken simmers directly in a seasoned sauce, infusing every shred with flavor in under 30 minutes.
- Family-Friendly & Customizable: A blank canvas for picky eaters or adventurous palates; adjust the spice level and toppings to suit everyone.
- Meal-Prep Champion: The filling can be made days ahead, and baked taquitos freeze and reheat beautifully for instant meals.
- Health-Conscious Choice: Baking uses significantly less oil than traditional frying, making it a lighter option without sacrificing texture.
- Uses Simple Ingredients: Built from pantry staples and fresh basics, with clear substitution guidance for what you have on hand.
Ingredients You’ll Need
Let’s gather our ingredients—this is where simple components come together to create something truly special. The magic here is in the technique, not hard-to-find items. For the chicken, I slightly prefer thighs for their richer flavor and moisture, but lean breasts work perfectly.
The diced green chiles (found in the international aisle) add a subtle, authentic kick without overwhelming heat. When it comes to tortillas, this is a critical choice: corn tortillas offer a classic flavor and can be gluten-free, but they require careful warming to prevent cracking. Flour tortillas are more forgiving for beginners and yield a slightly different, but equally delicious, crispness.
For the cheese, a blend that melts well is key—Monterey Jack and sharp cheddar are my go-to.

Note: You’ll find the complete list of ingredients, along with their exact measurements, in the printable recipe card at the bottom of this post.
Kitchen Equipment Needed
You don’t need any specialty gear for this recipe. A large, oven-safe skillet is the workhorse—you’ll use it to cook the chicken, build the sauce, and reduce it all in one pan. A standard half-sheet baking sheet lined with parchment paper is essential for easy cleanup and preventing sticking.
A pastry brush for lightly coating the taquitos with oil will promote even browning. For shredding the chicken, two forks work, but if you have a stand mixer, use the paddle attachment on low speed for 30 seconds for perfectly shredded chicken in a flash. Finally, having a clean kitchen towel or tortilla warmer to keep your tortillas pliable during assembly makes the rolling process smooth and stress-free.
How to Make Chicken Taquitos Recipe
Step 1: Sear and Simmer the Chicken
Preheat your oven to a hot 425°F—this high heat is non-negotiable for maximum crispiness. While it heats, pat your chicken dry; this ensures a beautiful sear. Season it well, then sear in a hot skillet until you get a golden-brown crust on each side.
Trust me, this step builds a flavor foundation you can’t achieve by boiling. You’re not cooking it through yet. Remove the chicken, then sauté your onions in the same flavorful pan drippings until soft and translucent.
Step 2: Build the Flavor Foundation
In that same skillet with the onions, add your minced garlic and dried spices—cumin, chili powder, and smoked paprika. Cook them for just 30 seconds until incredibly fragrant. This quick bloom in the oil unlocks their full potential and toasts their flavors, which is a chef’s secret for depth.
Then, deglaze the pan with chicken broth and lime juice, using your spoon to scrape up all those delicious browned bits stuck to the bottom. This is pure flavor gold.
Step 3: Create the Filling
Add the drained green chiles and return the seared chicken to the skillet. The liquid should come about halfway up the chicken. Bring it to a gentle simmer, then cover and reduce the heat.
Let it cook gently for 15-18 minutes. This gentle poaching in the seasoned broth makes the chicken incredibly tender and infuses it throughout. Once cooked, remove the chicken to shred it, but let the sauce keep bubbling away to reduce and thicken—this prevents a soggy filling.
Step 4: Assemble the Taquitos
This is the most important step for success: warm your tortillas. Whether you do this in a damp paper towel in the microwave for 30 seconds or briefly over a gas flame, pliable tortillas won’t crack. Place a generous line of the chicken and cheese filling down the center of each tortilla.
Roll them as tightly as you can and place them seam-side down on your prepared baking sheet. Don’t overcrowd them; they need space for hot air to circulate and crisp all sides. Brush the tops lightly with oil or melted butter—this is what gives you that gorgeous, even golden color.
Step 5: Bake to Crispy Perfection and Serve
Bake for 18-22 minutes, but I always rotate the pan halfway through to combat any hot spots in your oven. You’re looking for a deep, golden brown color and a firm, crispy shell. Believe me, the sound they make when you tap them will tell you they’re ready.
Let them rest for just 5 minutes on the pan—this allows the filling to set slightly so it doesn’t gush out on the first bite. Serve them hot with a vibrant array of toppings and step back to admire your beautiful, crispy creation.
- The Tortilla Warm-Up: This is the #1 tip. A cold corn tortilla will crack every time. Warm them until they are soft and foldable without tearing. Cover them with a towel to hold in the steam and work in batches.
- Filling Consistency is Key: Your reduced sauce should be thick, not runny. If your filling seems wet, let it cool and thicken for 10 minutes before assembling, or add a tablespoon of fine cornmeal to absorb excess moisture.
- Seam-Side Down is Law: Always place the rolled taquito with the seam tightly against the baking sheet. The weight of the taquito and the heat of the pan will help seal it shut as it bakes.
- The Crowding Conundrum: Give each taquito about an inch of space on the baking sheet. Overcrowding creates steam, which leads to soggy bottoms instead of crisp ones. Use two sheets if necessary.
- The High-Heat Finish: Don’t be tempted to lower the oven temperature. 425°F is ideal for creating a quick, sturdy crust that seals in the juicy filling while achieving that perfect crunch.
Recipe Variations
- Shredded Beef or Pork: Substitute an equal amount of cooked, shredded chuck roast or pork shoulder (carnitas) for the chicken. The cooking method for the filling remains the same.
- Creamy Chipotle: Add 2 tablespoons of chopped chipotle peppers in adobo sauce and 4 ounces of softened cream cheese to the filling mixture for a smoky, creamy twist.
- Black Bean & Corn (Vegetarian): Replace the chicken with 1 can of rinsed black beans and 1 cup of corn kernels (thawed if frozen). You may need slightly less broth.
- Buffalo Chicken: Toss the shredded chicken with 1/3 cup of Buffalo sauce and use a blue cheese or ranch dressing for dipping instead of traditional toppings.
- Breakfast Taquitos: Fill with scrambled eggs, cooked breakfast sausage or bacon, and shredded cheddar cheese. Perfect for make-ahead mornings.
- Air Fryer Method: Cook at 400°F for 8-10 minutes, shaking the basket halfway through. This method yields an exceptionally crisp exterior even faster.
- Gluten-Free Guarantee: Use 100% corn tortillas and double-check that your spices and broth are certified gluten-free.
What to Serve With This Recipe
These taquitos are a complete meal centerpiece. For a casual dinner, I love serving them with a simple, chunky guacamole, a vibrant pico de gallo, and a dollop of cool sour cream or Mexican crema. A side of cilantro-lime rice or a quick black bean salad rounds everything out perfectly.
For a lighter option, a crisp cabbage slaw with a lime vinaigrette adds a wonderful crunch and freshness that cuts through the richness. Beverage-wise, a cold Mexican lager, a classic margarita, or even a refreshing agua fresca are all fantastic pairings. They also make a phenomenal game-day appetizer—just double the recipe and set up a topping bar so everyone can build their own perfect bite.
Storage & Make-Ahead Instructions
- Refrigerator: Store cooled taquitos in an airtight container for up to 3 days. Reheat in a 375°F oven or toaster oven for 10-12 minutes to restore crispiness. The microwave will make them soft.
- Freezer for Long-Term Storage: Place baked and cooled taquitos in a single layer on a baking sheet to freeze solid (about 2 hours), then transfer to a freezer bag. They’ll keep for up to 2 months. Reheat from frozen in a 400°F oven for 15-20 minutes.
- Make-Ahead Filling: The chicken filling can be prepared and stored in the refrigerator for up to 3 days. This is a huge time-saver for weeknights—just warm it slightly before assembling and baking.
- Do Not Pre-Assemble and Refrigerate Raw: Assembling taquitos with cold filling into tortillas and then storing them before baking will result in soggy tortillas. Always assemble just before baking.
Frequently Asked Questions
Q: Can I use store-bought rotisserie chicken?
A: Absolutely. Use about 3 cups of shredded rotisserie chicken. Sauté the onions and spices, add the broth and lime juice, simmer to reduce by half, then stir in the chicken, chiles, and cheese just to warm through and melt the cheese.
Q: My corn tortillas keep cracking. What am I doing wrong?
A: They are not warm/pliable enough. The best method is to heat them in a dry skillet for 15-20 seconds per side until soft and steamy, then keep them wrapped in a clean kitchen towel. Also, avoid overfilling, which puts stress on the tortilla.
Q: Can I fry these instead of baking?
A: Yes. Heat 1 inch of neutral oil in a deep skillet to 350°F. Fry taquitos in batches, seam-side down first, for 2-3 minutes total until golden brown.
Drain on a wire rack over a baking sheet.
Q: How do I know when they are done baking?
A: They should be a uniform golden brown color, and the shells will feel firm and crisp to the touch. The filling will be bubbling hot (an internal temperature of 165°F).
Q: Can I make these dairy-free?
A: Yes. Omit the cheese or use a dairy-free shredding cheese alternative. The filling will be less cohesive, so roll carefully.
You can also add a tablespoon of masa harina to the filling to help bind it.
Q: What’s the best way to reheat leftovers?
A: Always use dry heat. An oven or toaster oven at 375°F for 10-12 minutes works best. An air fryer at 370°F for 5-7 minutes is also excellent for restoring crispness.
Q: Can I use flour tortillas?
A: Yes, they are more forgiving and won’t crack. The result will be a slightly different, flakier crispness. “Street taco” size flour tortillas (about 6-inch) are perfect.
Final Thoughts
This baked chicken taquitos recipe is a testament to how smart techniques can yield spectacular results with minimal fuss. It encapsulates what I love about home cooking: creating something deeply flavorful, texturally exciting, and universally loved without needing professional equipment or all day to do it. The process of searing, simmering, and rolling is genuinely satisfying, and the payoff—a platter of gorgeous, crispy golden rolls—never fails to bring a smile.
I encourage you to make this recipe your own. Play with the fillings, adjust the heat level, and find your perfect dipping sauce combination. Once you see how simple and rewarding it is, I have a feeling it will become a regular in your rotation, just as it is in mine.
If you try it, I’d love to hear how it turned out for you—tag me on social media or leave a comment below. Happy cooking
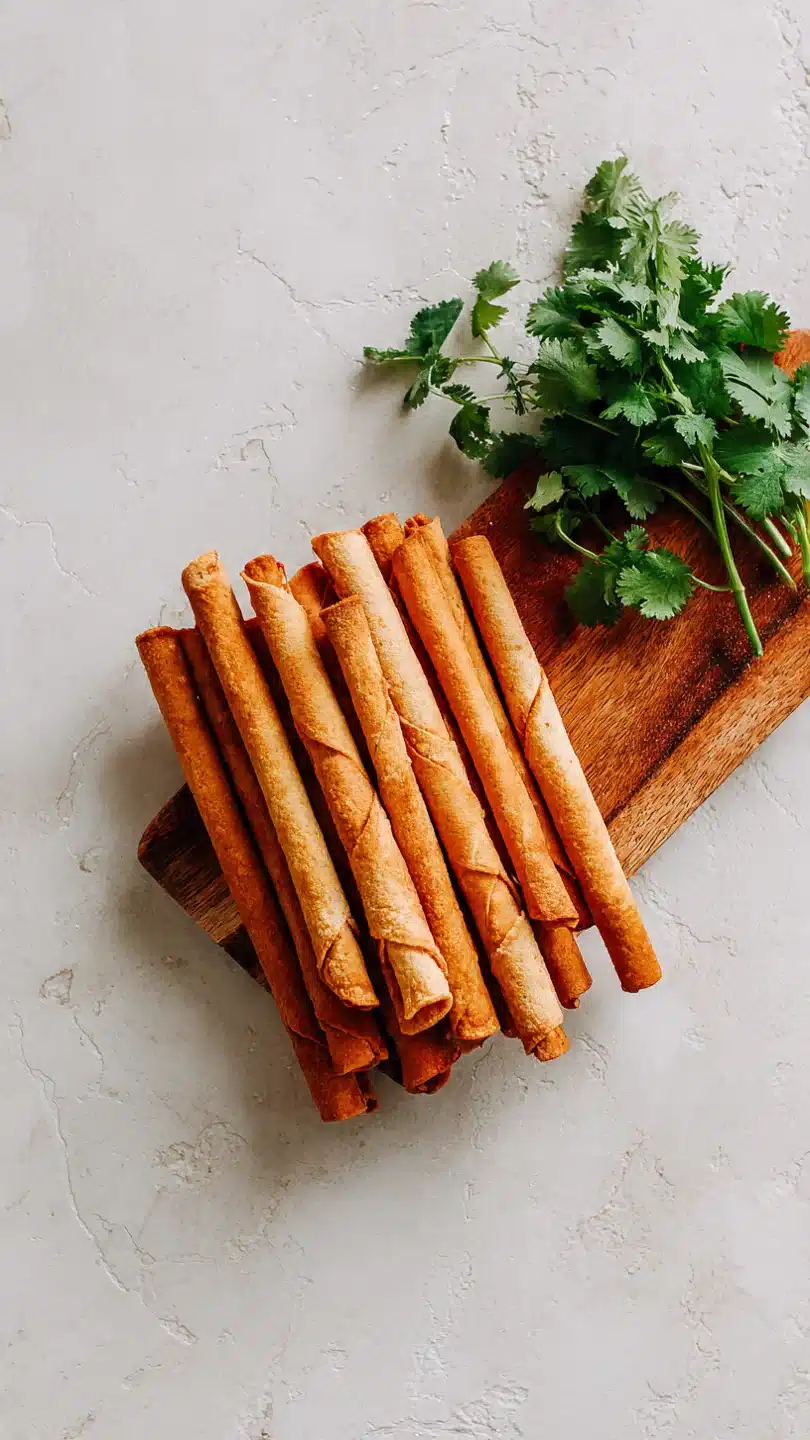
Crispy Baked Chicken Taquitos
Ingredients
Equipment
Method
- Preheat your oven to 425°F (220°C) and line a large baking sheet with parchment paper. Pat the chicken dry and season generously with salt and pepper on both sides.
- Heat the oil in a large skillet over medium-high heat. Add the chicken and sear for 3-4 minutes per side until golden brown (it won’t be cooked through). Remove to a plate. In the same skillet, add the onion and cook for 4-5 minutes until softened. Add the garlic, cumin, chili powder, and smoked paprika, cooking for 30 seconds until fragrant.
- Pour in the chicken broth and lime juice, scraping up any browned bits from the pan. Add the diced green chiles and return the chicken to the skillet. Bring to a simmer, then reduce heat to low, cover, and cook for 15-18 minutes until the chicken is cooked through and tender.
- Transfer the chicken to a cutting board. Increase the heat on the skillet to medium-high and simmer the sauce for 5-7 minutes until reduced and thickened. Shred the chicken using two forks, then return it to the skillet. Stir in the cilantro and shredded cheese until the cheese is just melted. Taste and adjust seasoning.
- Warm the tortillas according to package directions (this is crucial for flexibility). Place 2-3 tablespoons of filling down the center of each tortilla. Roll tightly and place seam-side down on the prepared baking sheet. Brush the tops lightly with melted butter or oil.
- Bake for 18-22 minutes, rotating the pan halfway through, until the taquitos are golden brown and crispy. Let them cool for 5 minutes on the pan before serving with your favorite toppings.


